
- Set page to right size
- When opening a new document always remember to use margins and bleed.
- When setting up a bleed, speak to the printer to determine the size of the bleed for the document. Standard is 3mm
- Slug area is used for all printer marks.
- Facing pages use for anything that will resemble a book
- primary text frame - if this is checked it will add a text box to every page which will all be linked throughout the pages of the document. If you have too much text for the amount of pages you have, it will automatically add more pages to the document to accommodate this.

All these setting will display the page like this, showing the margin, bleed and slug on the page.

When sending to print, set the marks and bleed up like above and remember to include slug area as this will print everything within the setup slug area on the document.
MASTER PAGES
- When using master pages, use cmd shift and click the item to unlock it from the master page.
- You can add as many master pages to the document as you want my using the pages option menu.
- To assign a master page to a page within the document drag the master page to the page in your document, if you don't want any on a page you the 'none' master page.
- Master pages are useful for chapters within a book, page numbering, headings etc. Something that is present on every page.
USING COLOUR
- Using colour within indesign is very similar to illustrator and works on vector based images.
- Using the swatch palette is the best way to apply colour within indesign

The standard colour palette, which will display CMYK and RGB colour swatches along with black and white. The square with CMYK triangles in it, indicates that it is a CMYK mixture, the grey box indicates it is a global swatch.
Using the square and 't' button at the top of the swatch palette indicates weather it will apply colour to text or a shape.
HOW TO CREATE NEW COLOUR
- CMYK Colour swatch

Use the swatch option menu and select 'new colour swatch'

Use the CMYK sliders to create the colour you want, click OK

The colour will be added to the bottom of the swatch palette with the CMYK % mixture.
- Spot Colour Swatch
Again using the swatch palette option menu, select 'new colour swatch'

This time on the colour mode menu, select the pantone library you wish to use

Using the reference finder type the number you wish to use

The pantone colour swatch is added to the swatch palette at the bottom, with the pantone reference and the two symbols change to a square with a circle inside instead of grey box and a square with numerous colours instead of CMYK.
- Tint

Before selecting the 'new tint swatch' select which colour swatch you want to create a tint from.

Use the gradient slider to select the tint % you want.

The tint colour swatch will be added to the swatch palette with the % at the end of of the CMYK colour mix.
PREPARING IMAGES BEFORE USING INDESIGN
Photoshop
- CMYK or GREYSCALE
- 300 dpi
- Actual size of image
- Save as psd or tiff.
Illustrator
- CMYK
- save as AI or copy and paste straight to indesign
USING INDESIGN FOR PRINT
- when adding images that have a spot colour used within the image it will automatically add to the swatch palette

DUOTONE IMAGE FILE
- adding a vector based image that uses spot colours will again add the swatches to the swatch library

- Even when you copy & paste a vector image that uses spot colours they will carried across to indesign too.
- when using a greyscale tiff file on a limited colour job you can apply a spot colour to the image within indesign to create a monochrome image:

Use the content grabber to select the frame in orange

It will appear that the fill colour is black

use the swatch palette to change the swatch colour and it will change the greyscale image to the colour you selected as a monochrome

By using the frame and content frame you can change the colour of both the background and the image within to edit it using colour in different ways.
THIS ONLY WORKS WITH GREYSCALE TIFF FILES

You can edit photos within indesign without having to find the actual file again and then relink it back into indesign by using the edit with option. This will open the file in the appropriate software to edit it.
Shortcut: alt & double click image
Once you have edited the image, save it and close the image and it automatically update within indesign
When working with transparency within Indesign the file has to be saved as a psd file.


Transparent and non transparent files.
WHAT HAPPENS WHEN THE FILE IS SENT TO PRINT
- Separation - colour separations - positives

Window > output > separations preview

As you can see the colour swatches shown in the separations preview are the same as the swatch palette as this shows the inks that will be used.

CYAN colour channel, this produces a greyscale image that shows where the cyan ink will be present and applied within the document.


Separations of each colour swatch

Mixing of the swatches to make the image as the finished printed image.
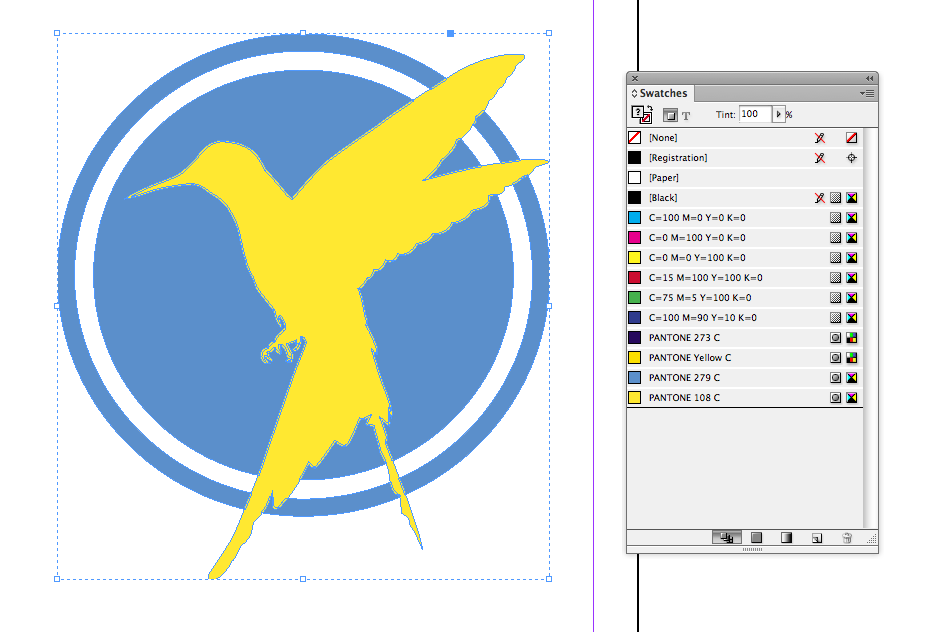
- DO NOT HAVE SWATCHES IN THE DOCUMENT THAT ARE NOT USED AS THESE COULD BE PRINTED BY ACCIDENT AND WILL RUIN THE DOCUMENT

As you can see the full image is displayed but the last three pantone colours in the palette arent used, so get rid of these.
HOW DOES IT WORK
- Print dialogue box
- Output

file > print > output

Colour > Separations

This is activate the inks section on the dialogue box. This will print the document as a greyscale image for the following inks shown. If you don't want one of the colours, use the printer icon on the left to uncheck it.
The angle of the ink is important because this will make the inks not print on top of each other. Also important for tints and half tones. The commercial printer will deal with this.
OVERPRINTING & KNOCKING OUT
- overlapping colours on a document
- when on separations view, the yellow will knock out any colour that it is on top off, so the overlapped cyan will not be printed.
- black will overprint because it is an opaque ink
You can change how they knock out or overprint:
- using spot colour to apply a finish, spot colour will knock out all CMYK colours beneath
- window > output > attribute
- select shape > check overprint fill


Using the overprint fill option will make the object or text etc sit over the top of the image/object beneath. This will be beneficial for applying a finish to a section of the design.

The disadvantage of using this overprint method is that it could use too much ink for the page and exceed the ink limit, this could damage the stock used when in the printer, to get around this use the ink limit preview in the separations preview. The red areas are the sections which have too much ink and could damage the stock.
TASK
find out about tracking within printing in indesign
No comments:
Post a Comment